Create and manage users
SetMe's user management feature allows you to add new users to your account, easily manage your entire team from a centralized dashboard, and remove or edit users when needed.
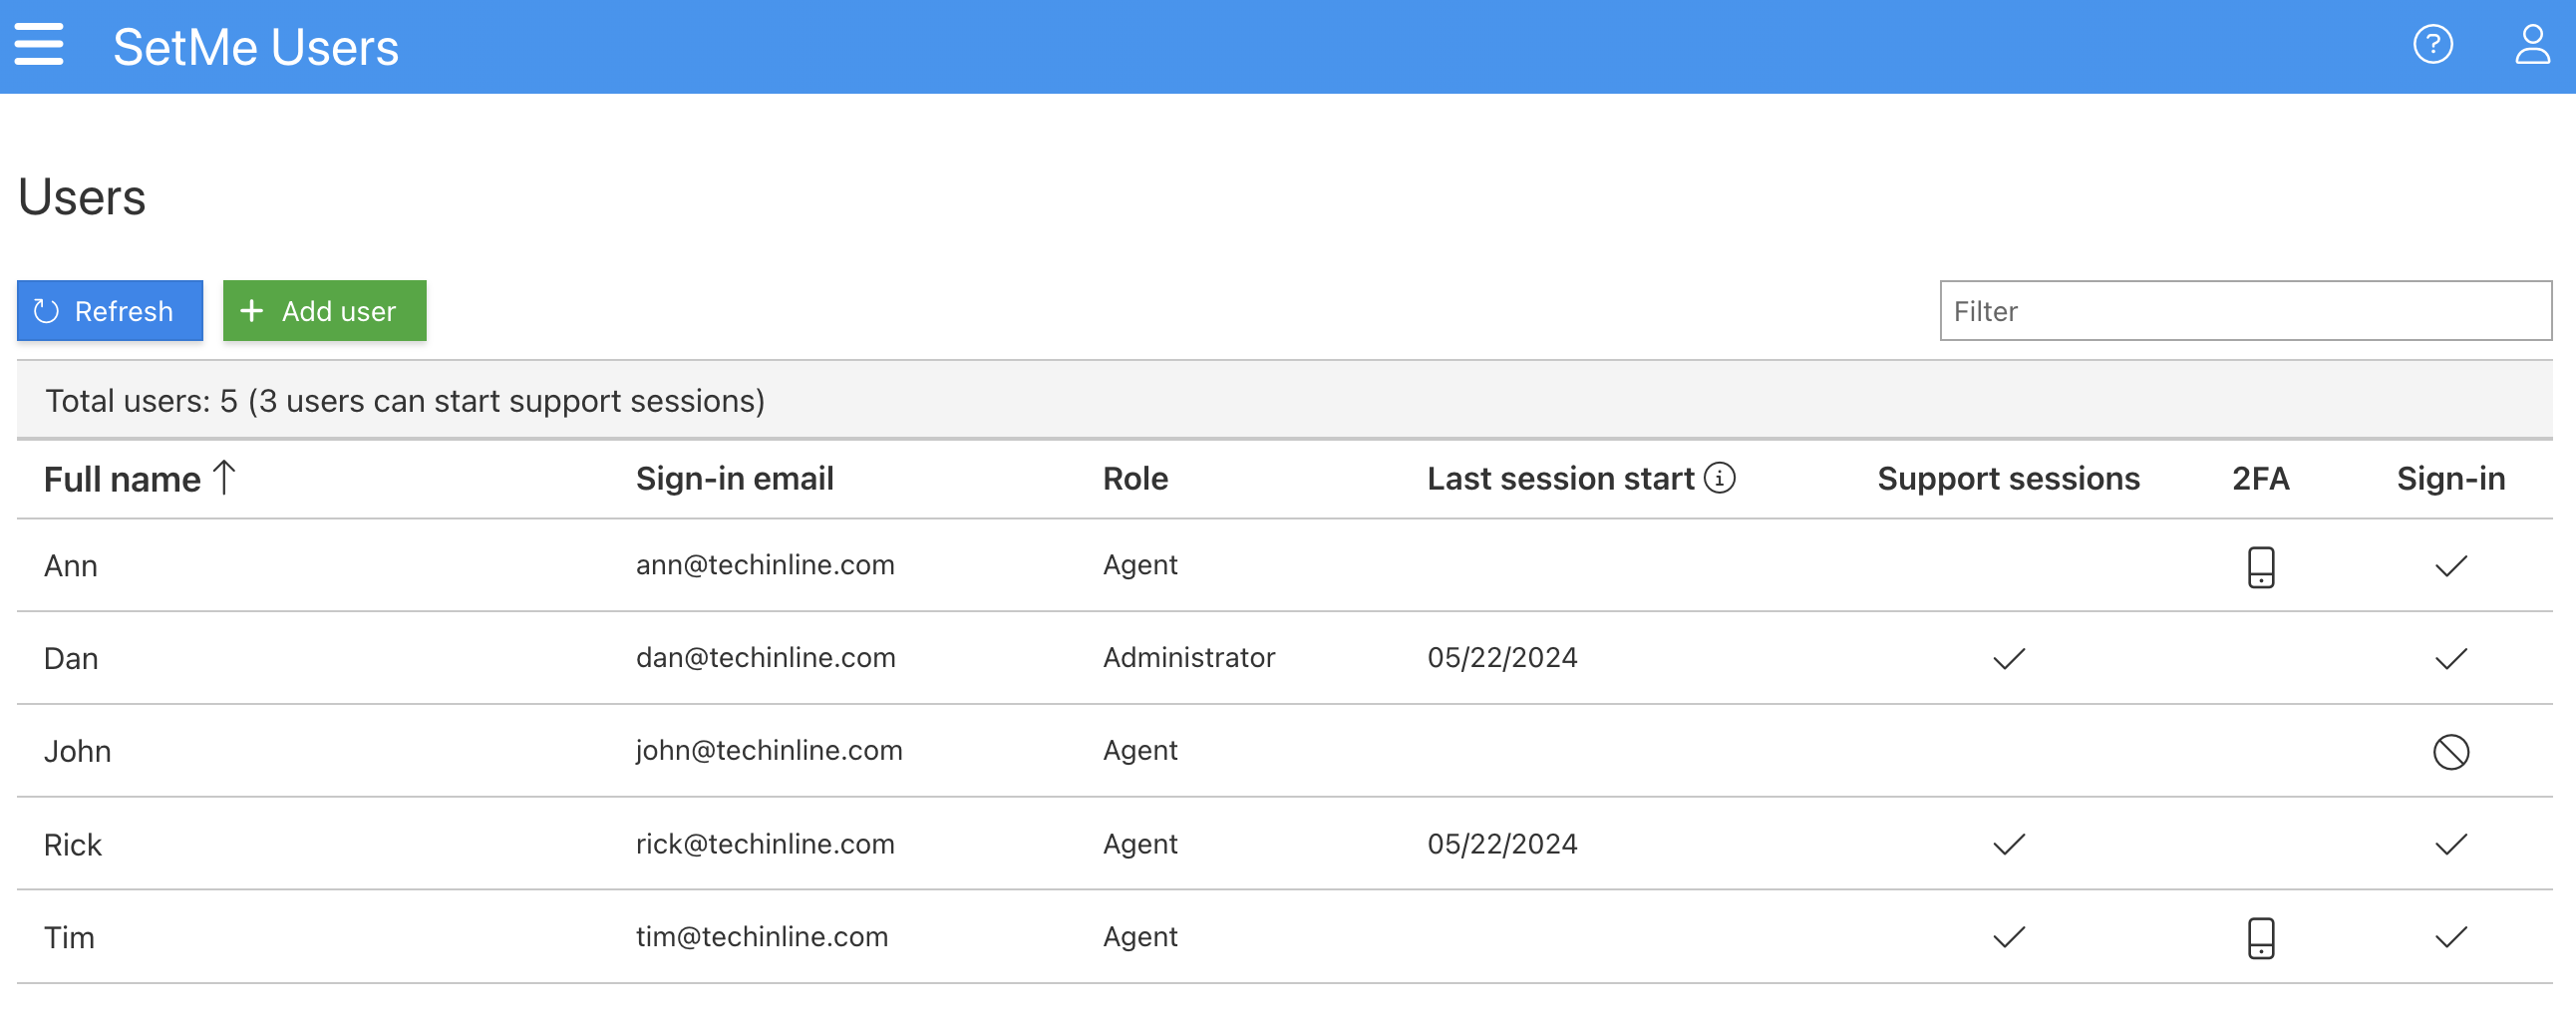
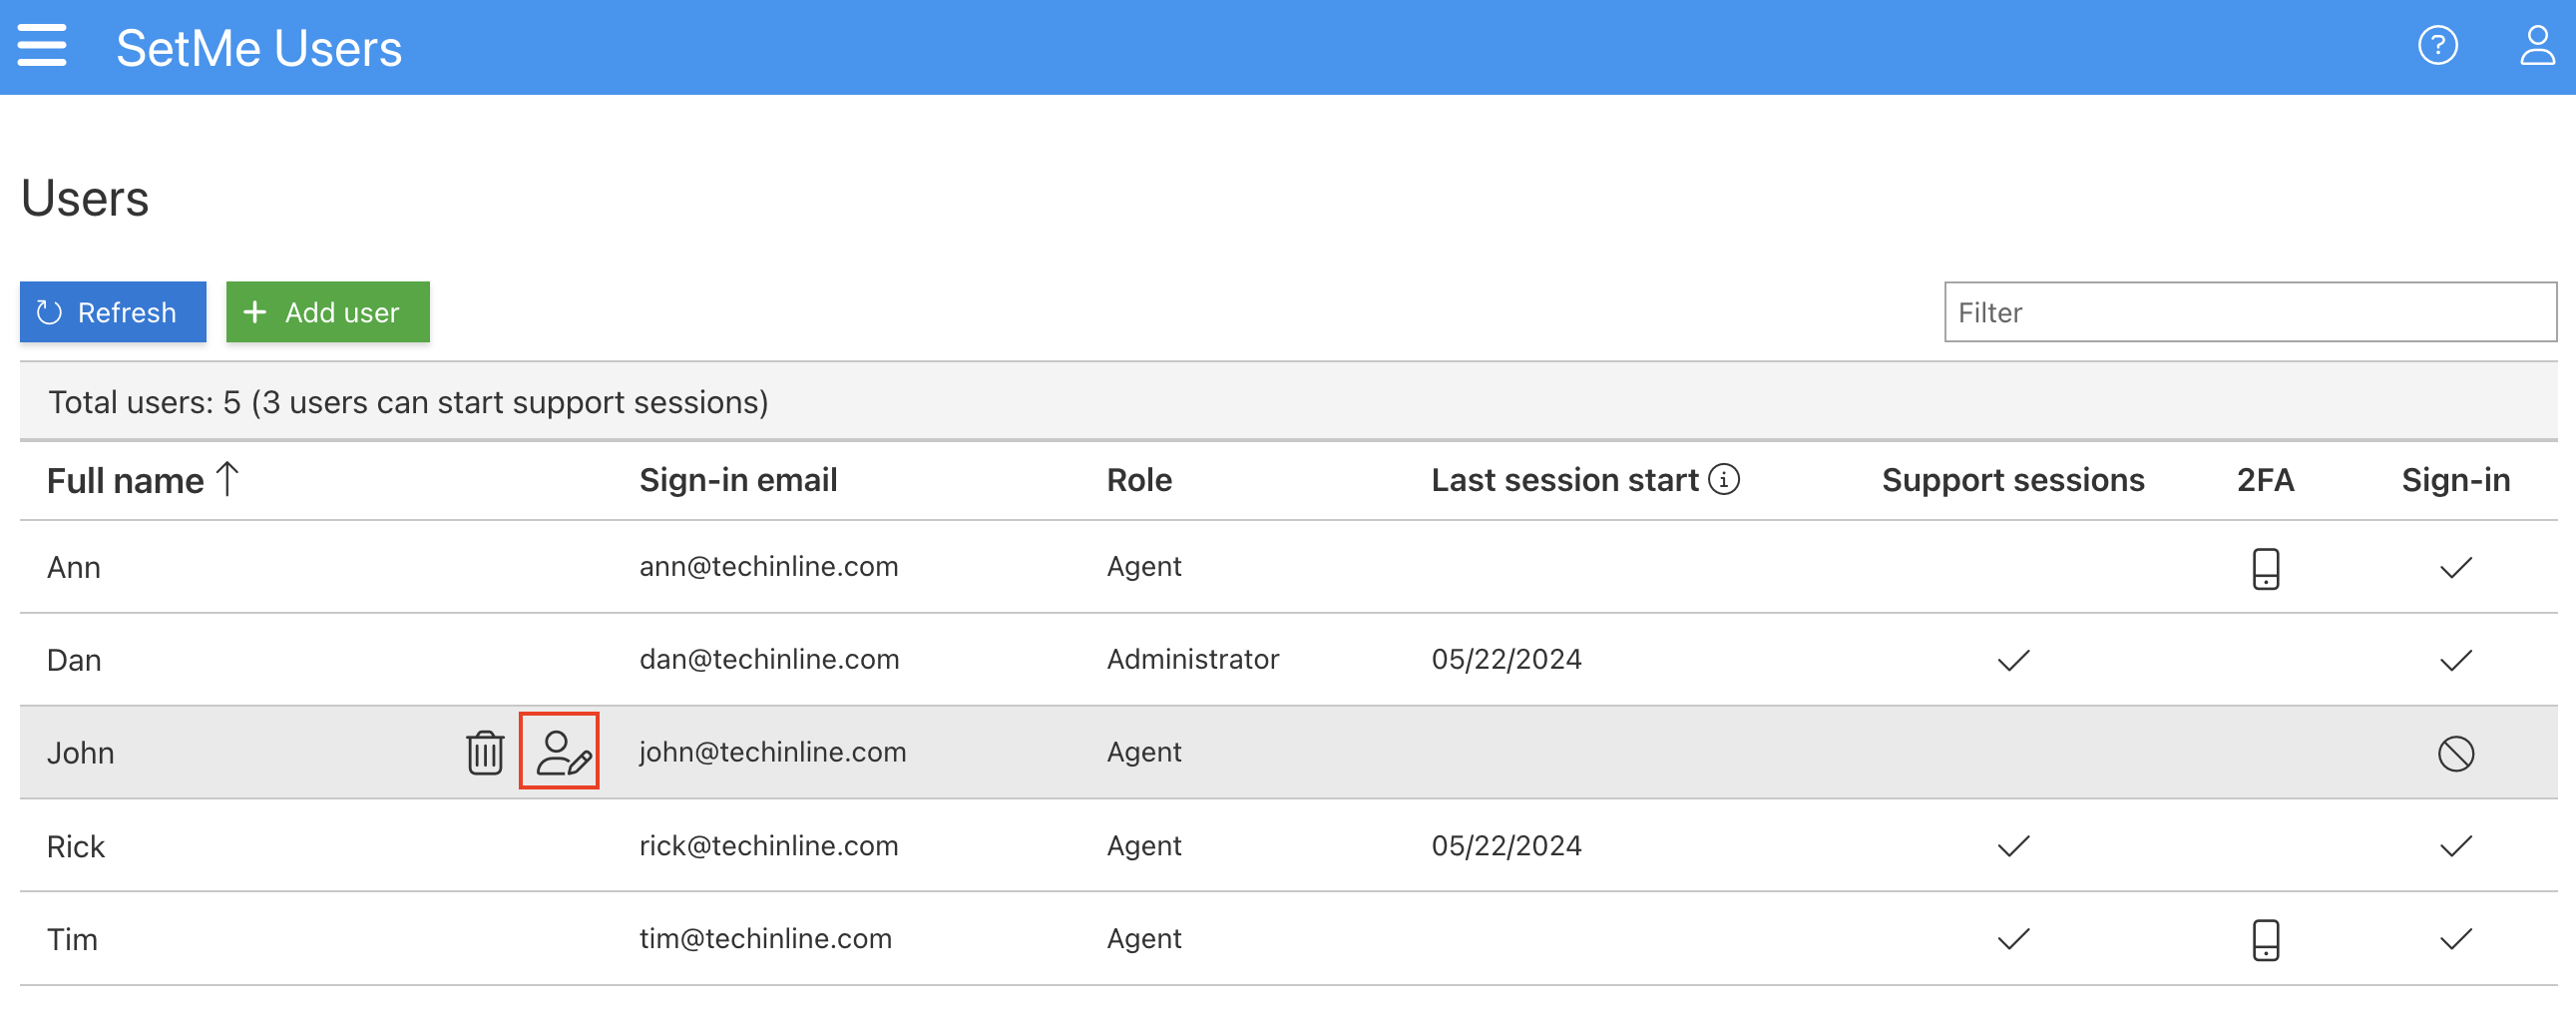
Within the Users section of the SetMe portal, you can view all the names and sign-in emails of everyone on your SetMe subscription, easily find, sort, manage users, assign licensed user (session) permissions and roles for each user, and check their current sign-in status to see which users are currently blocked.
In this article:
Create new users
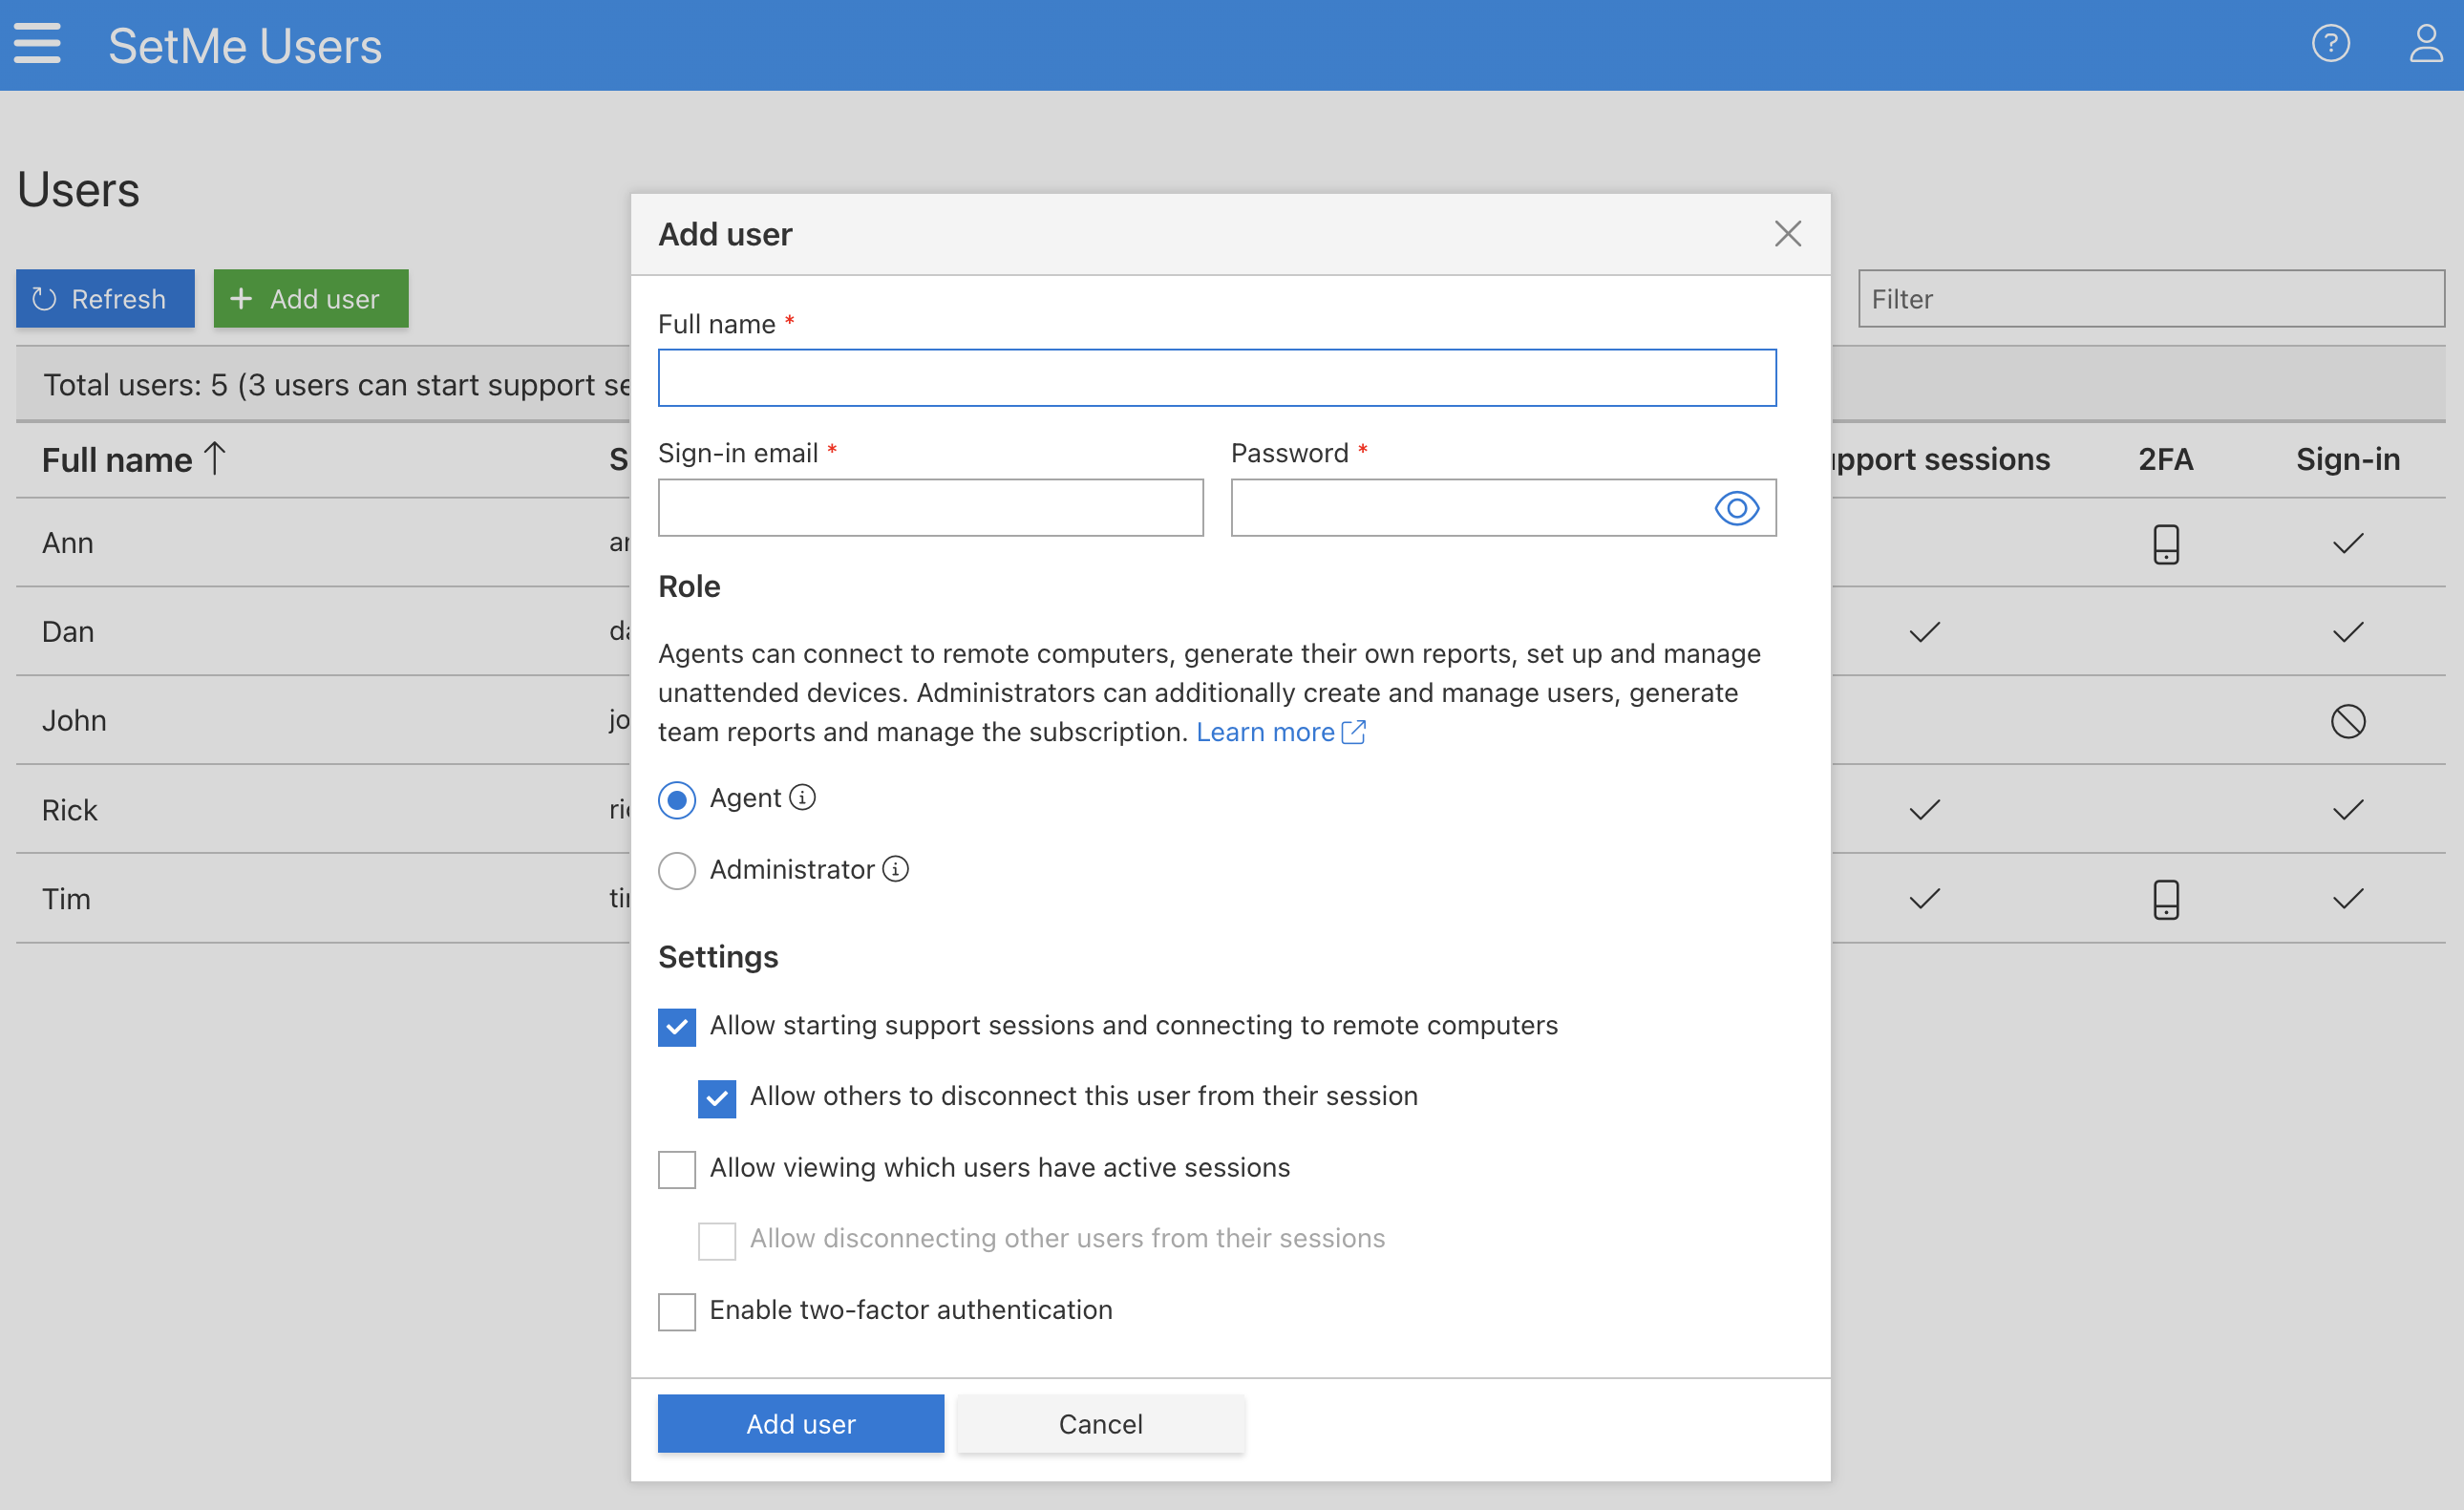
Click the Add user button and create a new user by providing the following information:
- Full name
- Sign-in email: this email will be used to log into the SetMe portal and Expert console
- Password
- Role: a set of permissions you'd like to provide them (either Agent or Administrator)
When creating a new user, you can also enable two-factor authentication for their account and provide them with a set of permissions to start new sessions as well as view/close sessions of other users on your team.
Session permissions are enabled by default. If you reach the maximum allowed licensed user limit for your existing seat count, you can create an unlicensed user by unchecking the Allow starting support sessions and connecting to remote computers box and reassign session permissions to this user at a later point.
Defining roles:
- Administrator: can create, delete, and edit other users on the account, manage other user's 2FA settings, access and update billing details, make changes to the current subscription plan, and generate reports for other users on the account.
- Agent: can only manage their own support session reports and 2FA settings.
You may create an unlimited number of users. However, only licensed users can start support sessions and work with remote computers. See SetMe's licensing explained for more information.
If you want to create an unlicensed user (i.e. prevent them from running sessions), uncheck the Allow starting support sessions and connecting to remote computers box. In this case, the new user will still be able to work in the web portal.
After the user is added, they will receive an automated email with their own login credentials. We strongly recommend that all users change their password in the Profile section right after login.
Manage existing users
Hover over a specific user and click the Manage user icon next to their username. Here you can change their Sign-in email, Full name, Password, Role, reassign session permissions, and manage two-factor authentication settings.
Leave the password field blank if you want the user to retain their current password.
You may choose to temporarily block the user by clicking 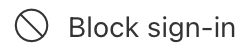 . A blocked user will not be able to run sessions or sign into the web portal until they're unblocked by an Administrator.
If you choose to block a user, their ongoing sessions will be immediately terminated and they will be automatically signed out of the SetMe portal within 10 minutes. Any reports associated with a blocked user will remain accessible.
Reassign session permissions
Any administrator on the account has access to managing other users (including other administrators) and therefore can easily reassign the available seats at any time. This gives you the flexibility to grant/revoke session permissions as needed when seats are being shared amongst other users on your team.
If the number of users that potentially need to run support sessions exceeds the current licensed user limit for your existing seat count, you can temporarily reassign a seat to a specific user (including yourself) while disabling another user's session permissions.
To reassign session permissions to another user:
- Click the Manage user icon next to the user you want to remove the seat from and uncheck the Allow starting support sessions and connecting to remote computers box.
- Hover over the user you want to assign the seat to, click the Manage user icon and check the Allow starting support sessions and connecting to remote computers box.
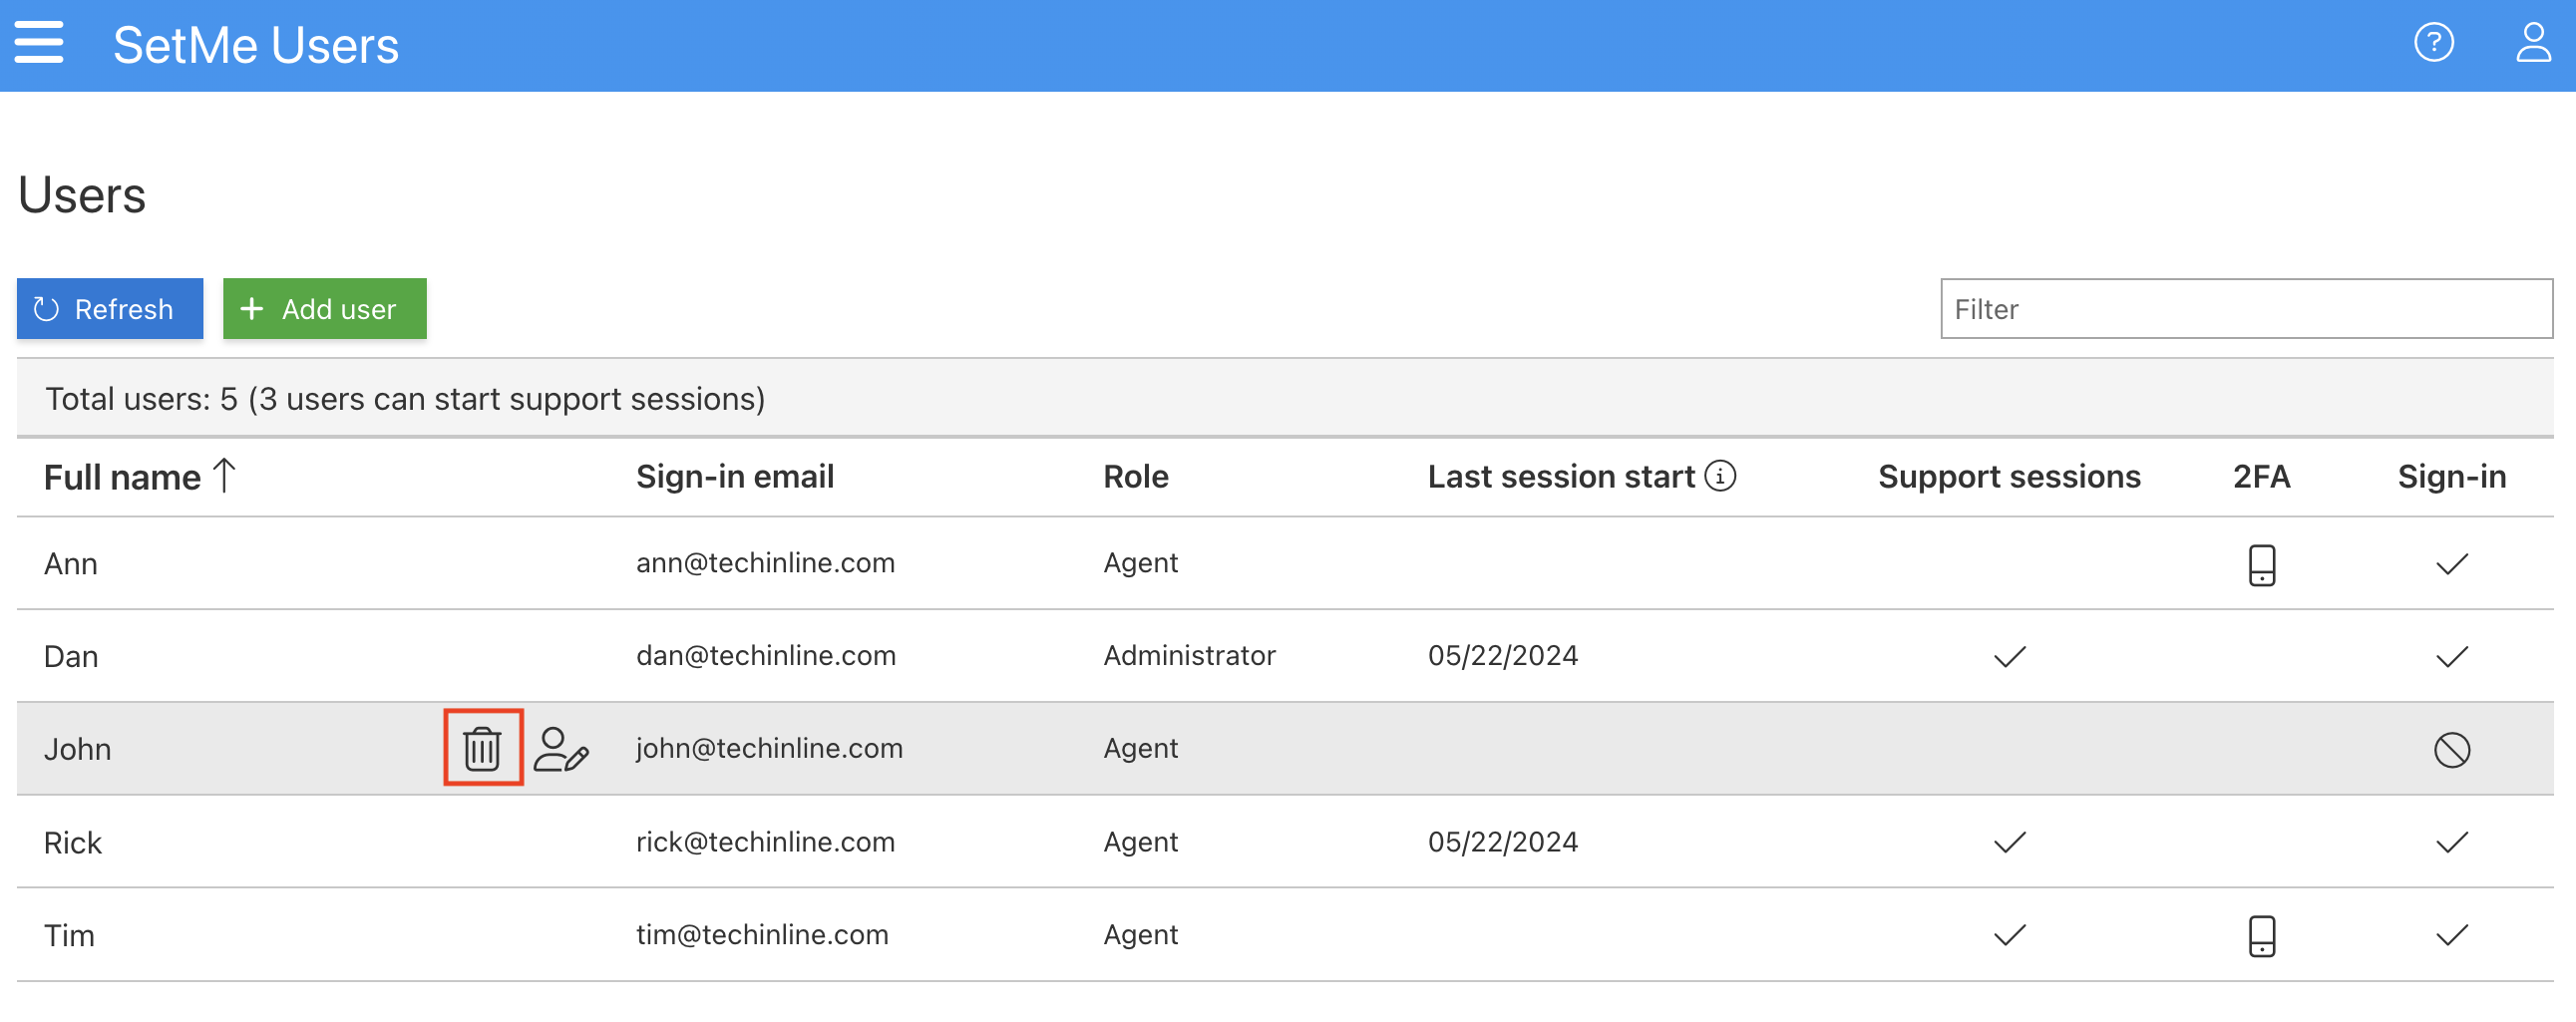
Delete users
Hover over a specific user in the user list and click the Delete icon next to their username.
If you choose to Delete a user, their ongoing sessions will be terminated and they will be automatically signed out of the SetMe portal and Expert console. All personal data and reports associated with a deleted user are permanently erased and can't be recovered.